Redesign of intussusception reduction device
For our senior Design Project, Maria Diaz Ortiz, Kathryn Murray, Grant Stearns, and I evaluated the need for a new device to treat intussusception. We then went through multiple iterations of developing the device.
A bit more background
Intussusception is a life-threatening condition that affects thousands of infants each year and is characterized by the folding of the bowel over an adjacent segment, causing an obstruction that, if left untreated, can lead to tissue necrosis and patient death. However, if diagnosed early enough, intussusception may be resolved through pneumatic reduction, where the patient’s bowel is pressurized with air in order to push out the obstruction. Currently, reduction is performed using a Shiels Reduction Device, which is essentially composed of a hand aneroid pump, an enema tip, and a plastic tube connecting the two. While the pediatric radiologist would manually pump air to insufflate the patient’s bowel, nurses and technicians would remain in the fluoroscopy room to constrain the child and squeeze the buttocks together in an attempt to provide a better seal. Through an extensive literature review of medical journals, multiple user interviews, and clinical observations, four major challenges were identified. Improper fit of the enema tip with the patient anatomy led to significant air leakage at the child device interface. A significant amount of fluid backflow into the plastic tubing was also observed. Additionally, the device provided barely any pressure regulation, with pressure fluctuations of 100mmHg occurring regularly. And lastly, due to the length and physically demanding nature of the tasks performed by the physician and nurses alike, the procedure resulted in significant user fatigue.
Our team set out to address these major challenges in order to create an improved solution for reduction of intussusception in children.
For a more visual overview of the project, take a look at this presentation, made by Kathryn Murray:
You can also take a look at this poster made by Maria Diaz Ortiz:
My Role in the Project
This project was tackled by a four person team over about 4 months. For that sort of timeline and that small of a group, everyone has to wear many hats. I was in charge of managing communications between our sponsors and advisors. In addition I did all of the electrical design and fabrication, all of the backend coding, all of the pneumatic design and assembly, and all of the prototype machining. The prototyping which did not require machining was done as a shared effort by the team, with the team being instructed in the relevant techniques by me. We all shared the responsibility of generating documentation, interviewing customers/users, and developing the vision for the project.
Customer Discovery and Design Inputs
The first part of any project like this is to learn as much about the problem as possible. To that end we did extensive customer discovery, talking to a number of physicians and observing a procedure. Once a series of user needs has been developed, it is important to develop Design Inputs. We summarized and justified the Design Inputs in a paper and also developed a presentation on them. Once we had these Design Inputs, we used them to guide the rest of the project. Of course, throughout the project we continued to reinforce our understanding of the problem by continued costumer discovery and research.
Ideation
Once we had a good initial understanding of the project, we began to develop concepts to help alleviate the problems we saw. The first step of this was to come up with concept sketches. These are my sketches for:
After developing a large number of concepts we narrowed the field down to a few that we felt were best.
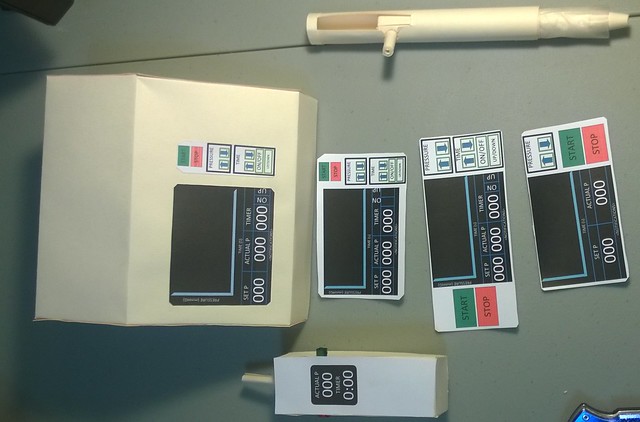
Paper Prototypes
In order to illustrate our ideas to both ourselves and our sponsors, we made a few paper prototypes.
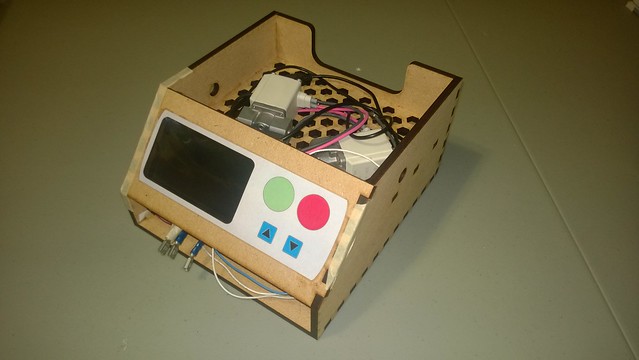
Laser Cut MDF Enclosure
As we continued to refine our ideas we needed a place to begin housing and testing our system, so we made a prototype pressure control box out of MDF.
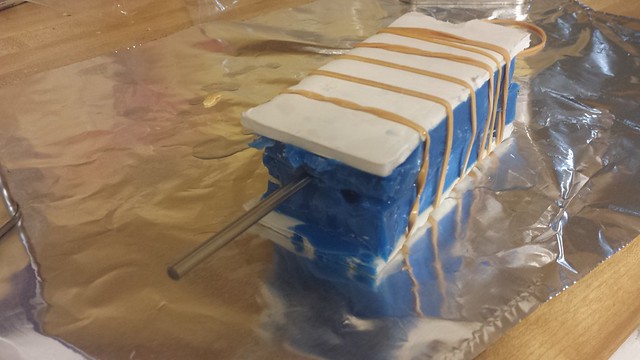
Hybrid Additive Subtractive Prototype
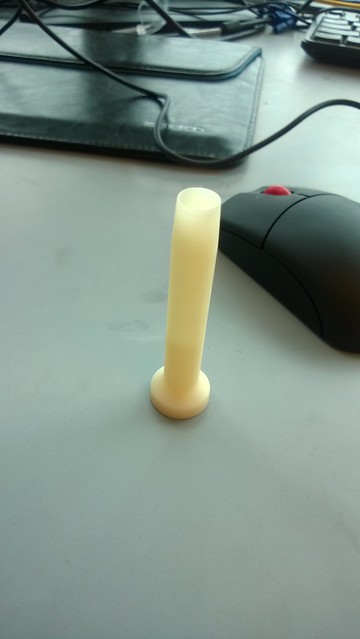
We then began working on the enema tip designs. Grant did most of the design work, while I performed design reviews for him and fabricated the parts as a combination of 3D prints and machined parts.
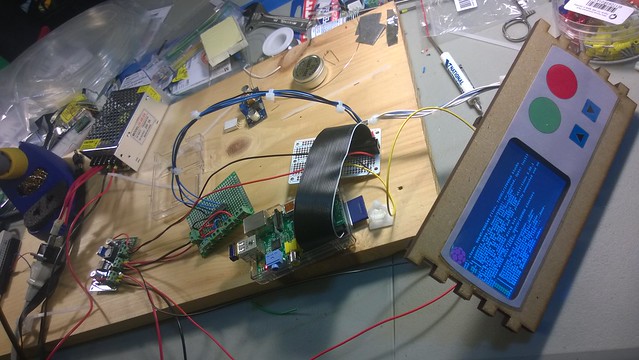
Pressure Control system
While working on the enema tip designs, I was working on designing, laying out, ordering, and assembling the components for the pressure control system. I was also working on the code to make the system run while Kathryn worked on the front end for the system.
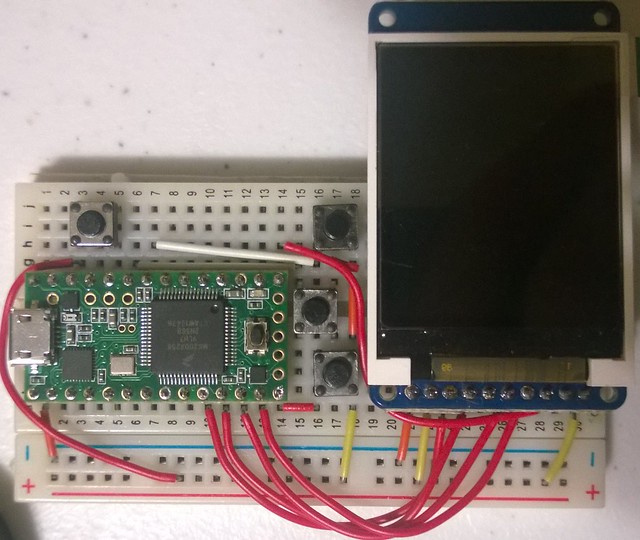
Handheld Controller
I also developed the electronics and code (both front and back end) for a handheld controller. Kathryn and Grant worked together to make the first iteration casing for the controller and I built off their work to make an improved version.
Final Enema Tip
Grant continued to iterate on the enema tip design. I adjusted his designs to improve manufacturability and functionality and then machined a final prototype. Both Grant and I attempted to cast the soft portion of the tip, with Grant’s results being far superior to my own.
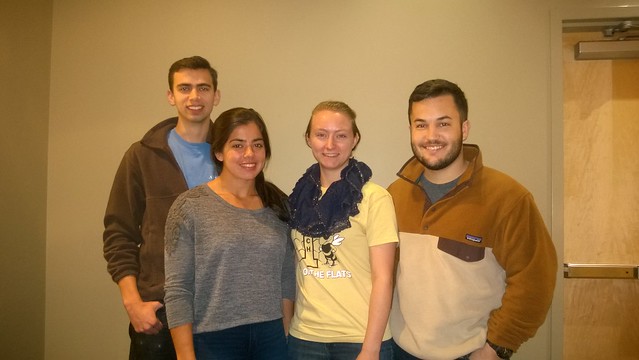
The team
Grant Stearns
Kathryn Murray
Maria Diaz Ortiz
Michael Sobrepera
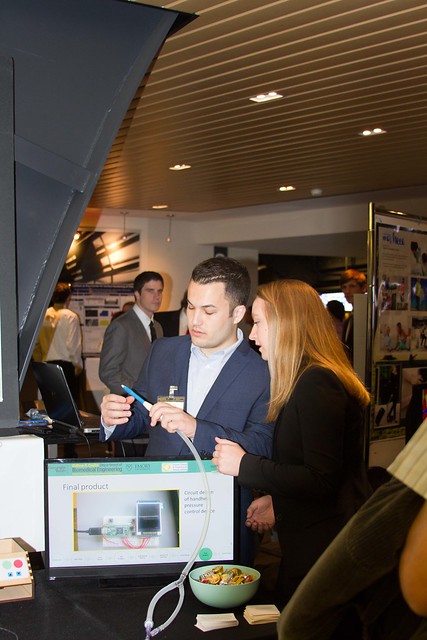
Capstone Expo